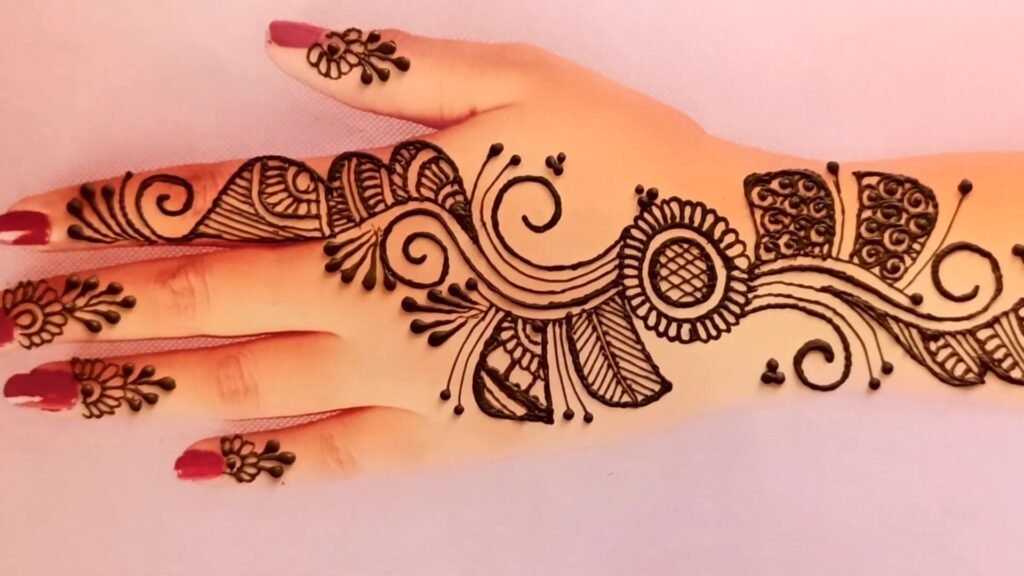
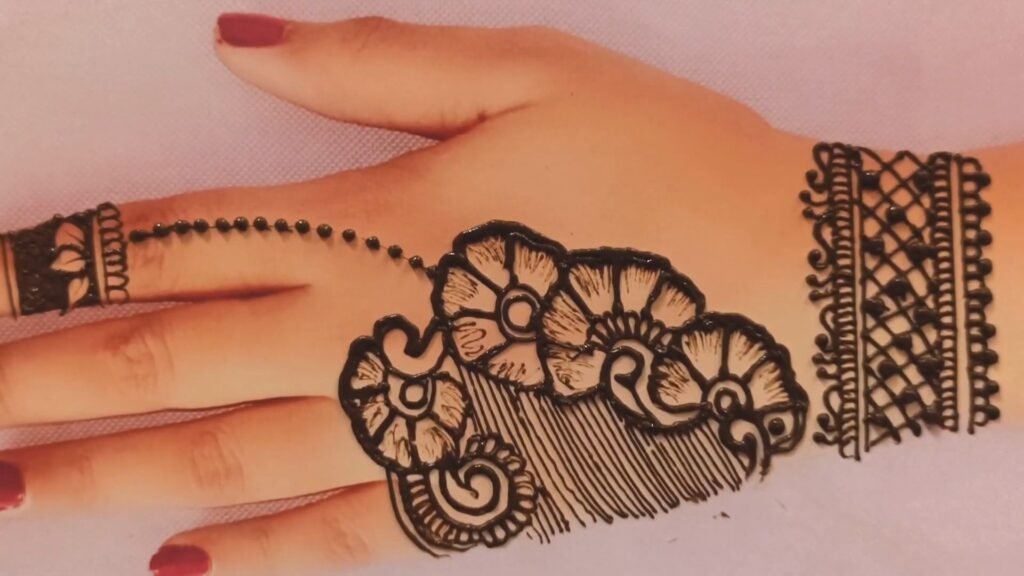
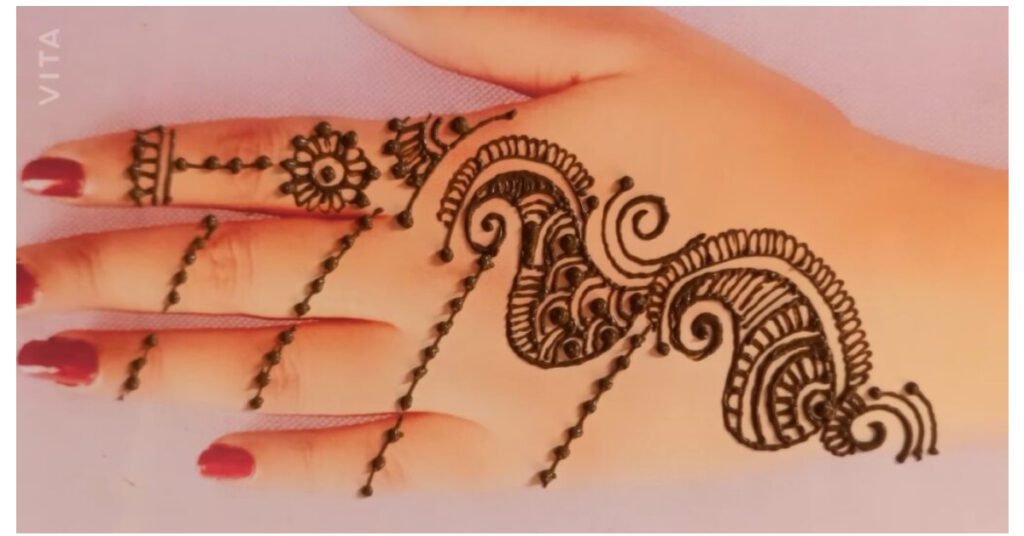
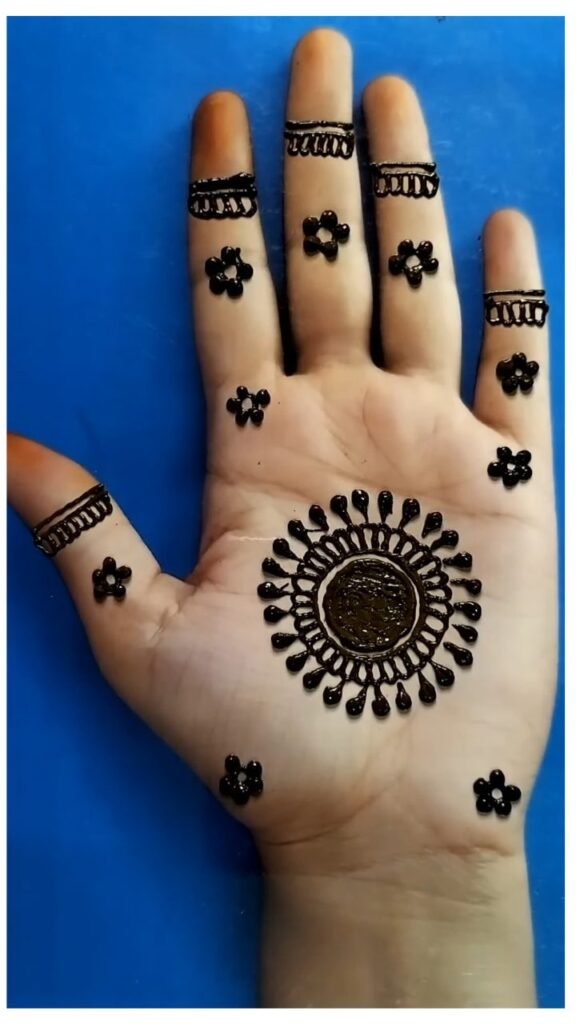
Beautiful Full Hand Mehndi Design Tutorial
Creating a full hand mehndi design can be a beautiful and intricate process. Here’s a step-by-step tutorial for a full hand mehndi design:
Materials Needed:
- Henna cone or henna paste
- Thin plastic cone or applicator (if using henna paste)
- Tissue paper
- Lemon juice and sugar mixture (to seal the design)
- Cotton balls
- Small bowl
- Toothpick (optional)
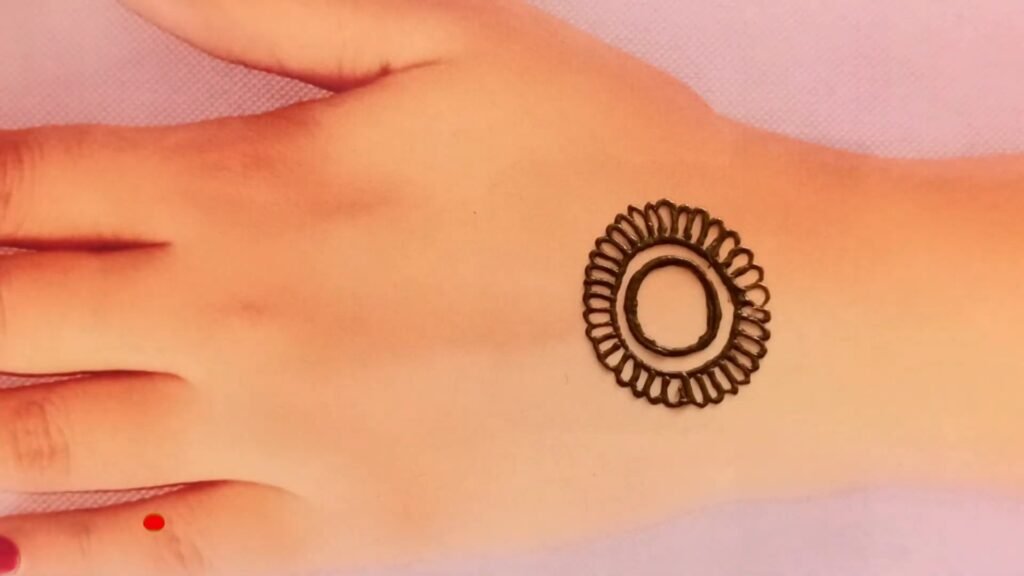
Also Read – Beautiful Mehndi Design For Hand
Instructions:
Prepare the Henna Paste:
If you’re using henna powder, mix it with water to create a thick, smooth paste. Allow the paste to sit for a few hours or overnight for best results. If you’re using pre-made henna cones, skip this step.
Clean Your Hands:
Start with clean hands to ensure the henna adheres well to your skin.
Begin at the Wrist:
Start your full hand mehndi design at the wrist. Create a broad cuff-like band with henna paste. You can make this as simple or as intricate as you like.
Design the Fingers:
Move on to the fingers one by one. You can choose to decorate each finger differently or create a consistent pattern.
Common finger designs include leaves, floral patterns, or simple geometric shapes.
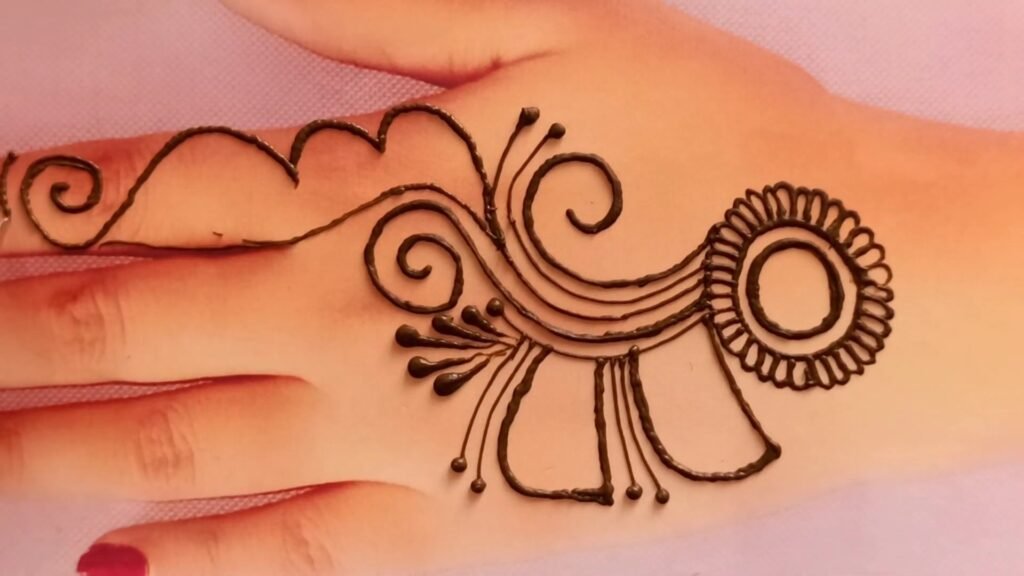
Also Read – Stylish Arabic Mehendi Design For Beginners
Add Intricate Patterns:
As you work your way up the hand, incorporate more intricate patterns, such as paisley motifs, swirls, and dots.
Connect the Wrist to the Fingers:
Create decorative lines or vines that connect the wrist band to each finger. These lines can have leaves, dots, or small flowers along them.
Decorate the Palm:
Move to the palm of your hand. You can create a central design in the center of the palm or continue the patterns from the fingers.
Fill in Spaces:
Use the henna paste to fill any empty spaces with additional patterns, dots, or swirls. Make sure the design is well-balanced and symmetrical if desired.
Wait for the Henna to Dry:
Allow the henna paste to dry on your skin. This usually takes 1-2 hours, but drying time can vary depending on the henna quality and temperature.
Seal the Design:
Once the henna is dry, mix lemon juice and sugar in a bowl.
Carefully dab this mixture on top of the dried henna design using a cotton ball. This helps seal the henna and intensify the color.
Let It Set:
Leave the henna on your skin for several hours or overnight for the best results.
Avoid contact with water during this time.
Peel Off and Enjoy:
Once the henna has set, gently scrape it off with a toothpick or your fingers.

Also read- Simple Mehndi Design For Girls सुंदर और आसान मेहंदी डिजाइन

You’ll notice a beautiful orange-brown stain beneath.
Creating a full hand mehndi design can be time-consuming, so it’s important to be patient and take your time. Feel free to get creative and personalize your design to your liking. Enjoy the process and the stunning Result .

