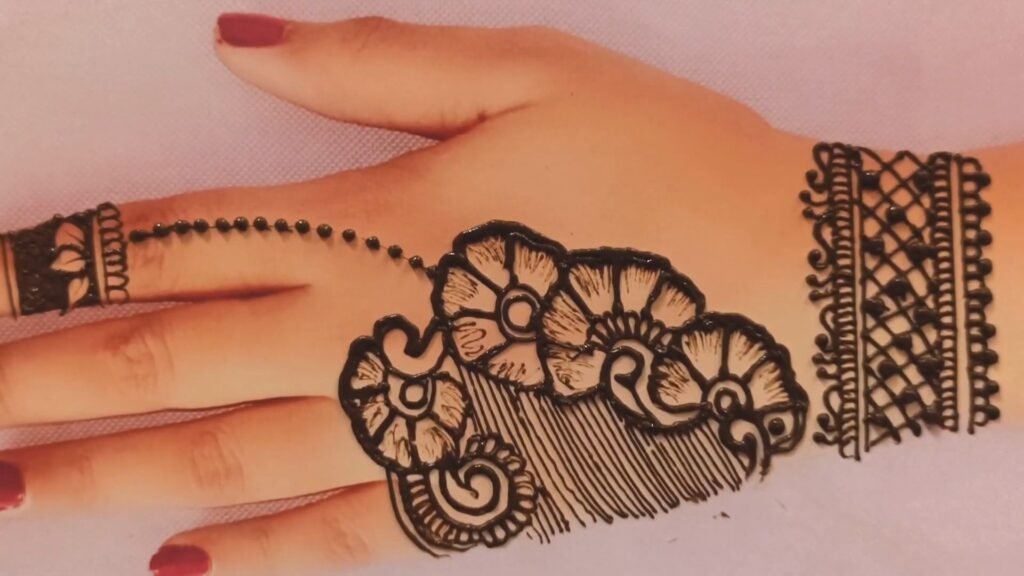
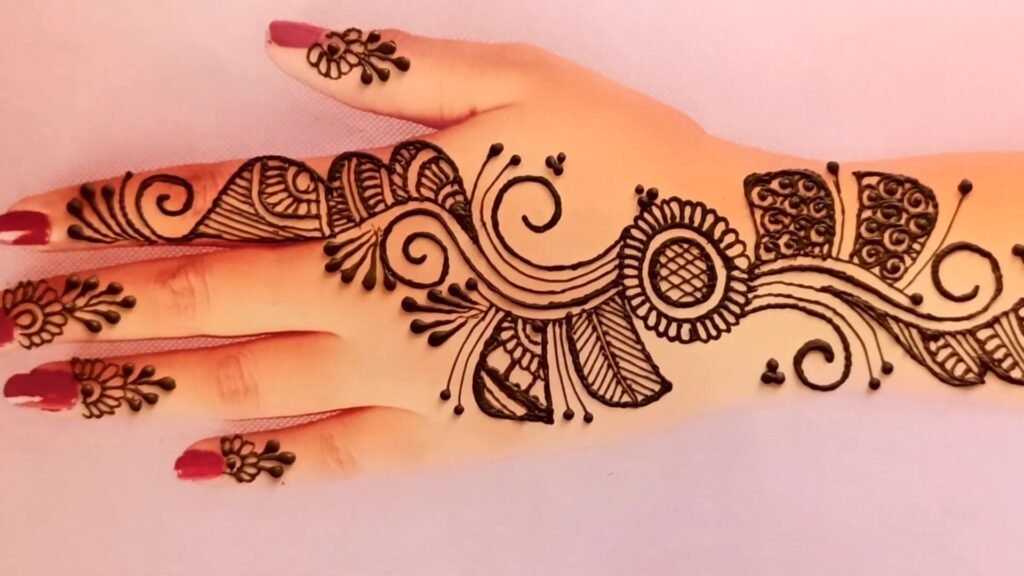
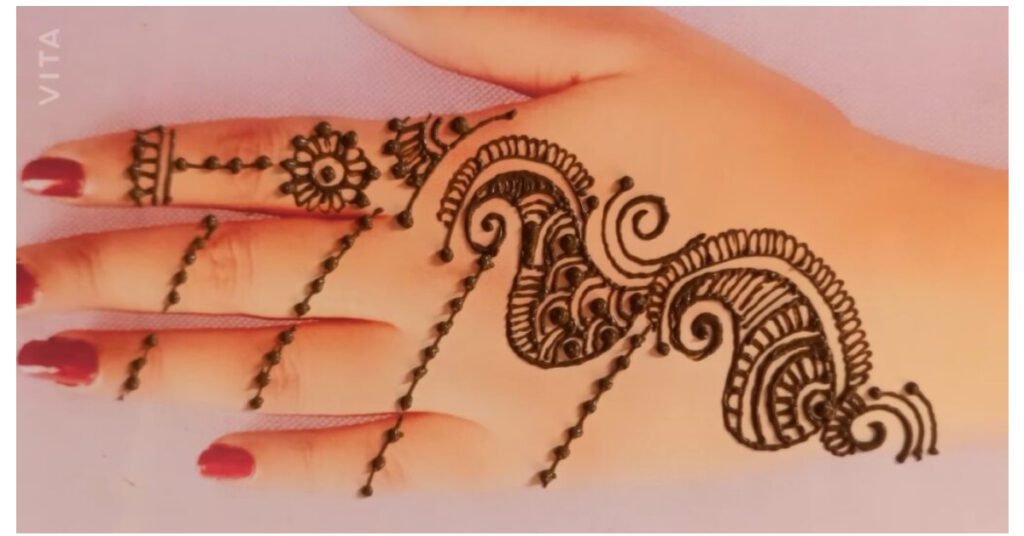
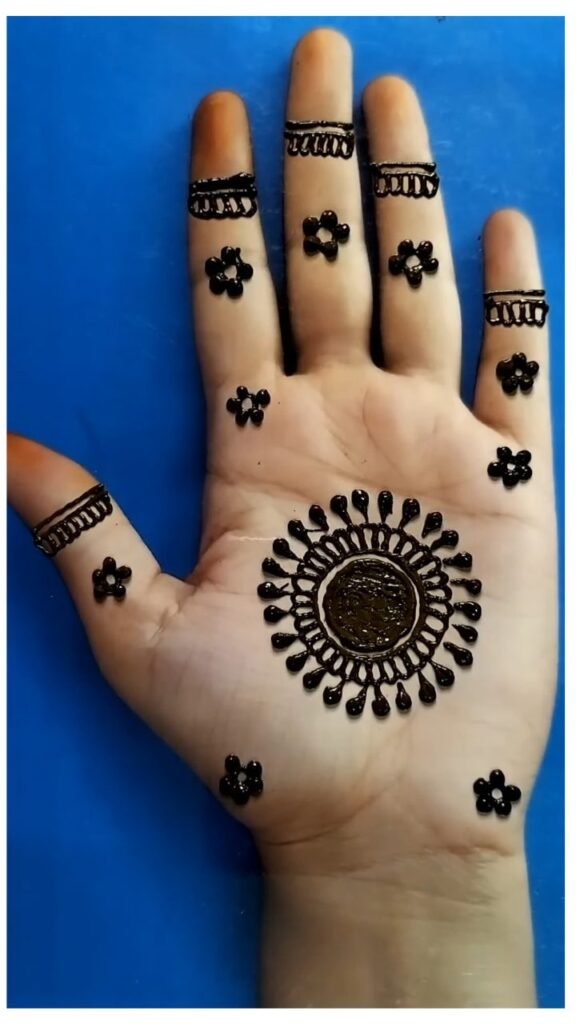
Easy Back Hand Mehndi Design For Beginners
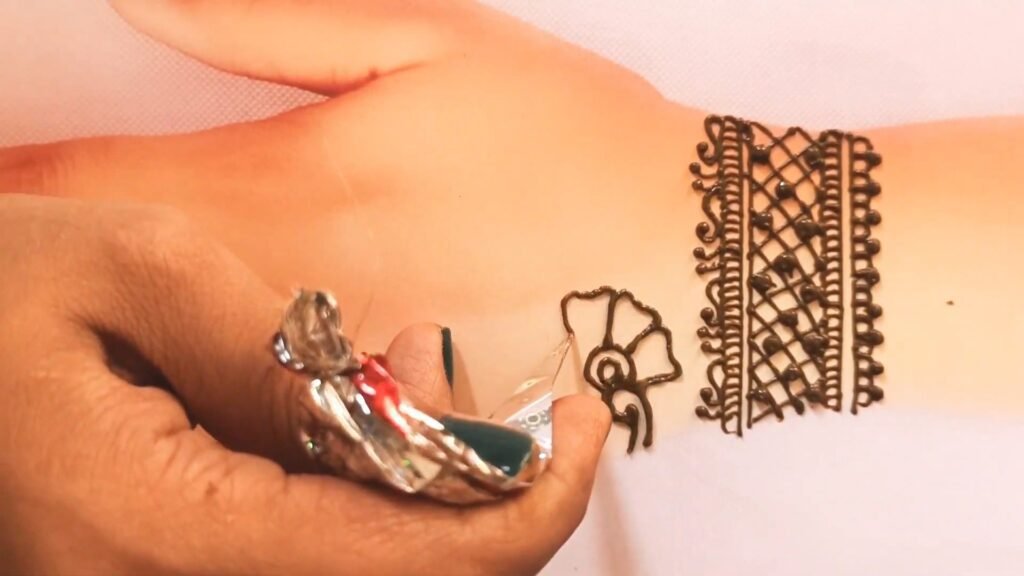
Creating an easy back hand mehndi design is a great way to adorn your hands with beautiful henna artwork. Here’s a step-by-step tutorial for an easy back hand mehndi design:
Materials Needed:
- Henna cone or henna paste
- Thin plastic cone or applicator (if using henna paste)
- Tissue paper
- Lemon juice and sugar mixture (to seal the design)
- Cotton balls
- Small bowl

Prepare the Henna Paste:
If you’re using henna powder, mix it with water to create a thick, smooth paste. Allow the paste to sit for a few hours or overnight for best results. If you’re using pre-made henna cones, skip this step. Start with clean hands to ensure the henna adheres well to your skin. Extend designs from the central flower to each finger. Common patterns include leaves, vines, or simple geometric shapes. Allow the henna paste to dry on your skin. This usually takes 1-2 hours, but drying time can vary depending on the henna quality and temperature. Once the henna has set, gently scrape it off with a toothpick or your fingers.
You’ll notice a beautiful orange-brown stain beneath.
Also Read – Stylish Mehndi Design For Eid
Also Read – New Flower Mehndi Design For Girls
Also Read – Simple Mehndi Design For Girls
Also Read – 6 New Back Hand Mehndi Designs

Also Read – 10 New Full Hand Mehndi Design For Girls
Creating an easy back hand mehndi design allows you to showcase your creativity and decorate your hands for special occasions or simply for personal enjoyment. Have fun with the process and customize the design to your liking
Also Read

